Coordinate measuring machine is abbreviated as CMM. It is a instrument with measuring capabilities that calculate various geometric shapes through the three-coordinate software system in a three-dimensional measurable space, according to the point data returned by the probe system. That’s why coordinate measuring machine is also called three-coordinate measuring machines.
Coordinate measuring machine is mainly used for the measurement of boxes, racks, gears, cams, worm gears, worms, blades, curves, curved surfaces, etc. in machinery, automobiles, aviation, military, furniture, tool prototypes, and other small and medium-sized accessories, molds and other industries. It can also be used in electronics, hardware, plastics and other industries. It can accurately detect the size, shape and form tolerance of the workpiece, so as to complete the tasks of part inspection, shape measurement, process control and so on.
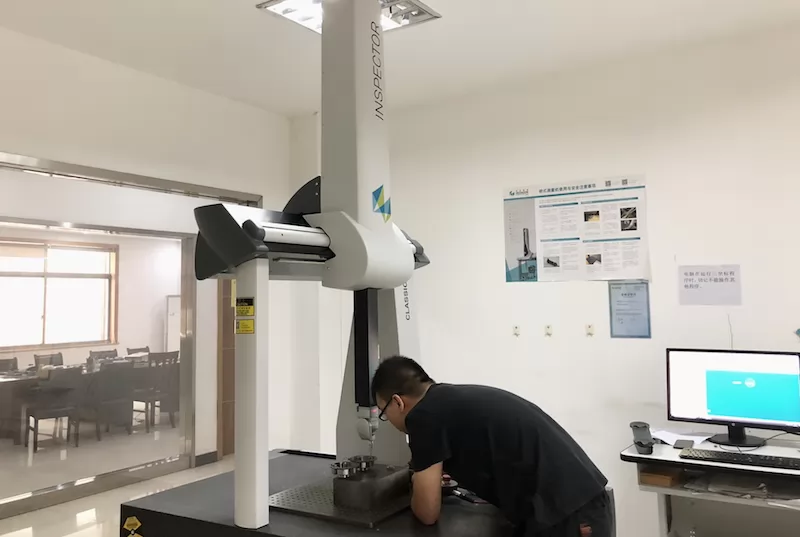
At present, the accuracy of coordinate measuring machine on the market with a range of less than 1000mm will be marked at 2um ~ 3um.
Advantage:
l High measurement accuracy, which can be used for size measurement of products with higher accuracy.
Disadvantage:
l It takes a long time to measure the size of the product.
l The steps of disassembling and assembling the product are cumbersome.
l Only a single piece can be measured.
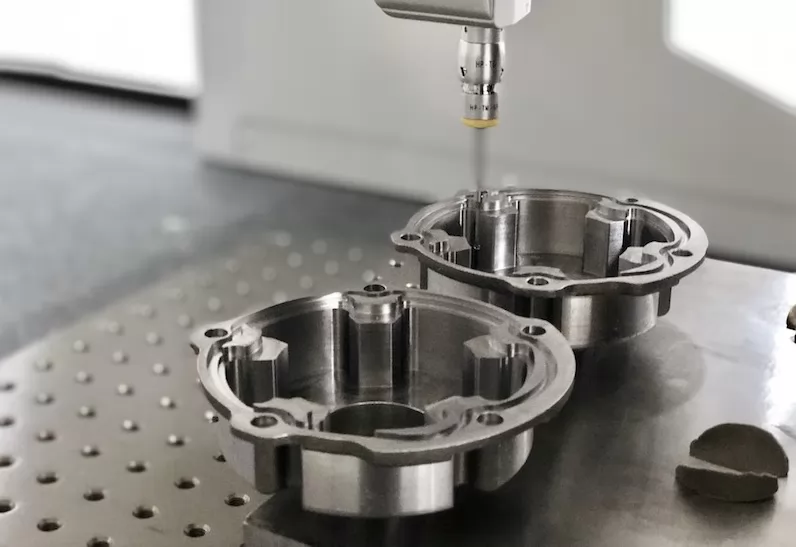
Castings are metal molded objects obtained by various casting methods. First, the smelted liquid metal is poured into a pre-prepared mold by pouring, injection, suction or other casting methods. Then, after cooling, there are subsequent processing methods such as polishing. Finally, the resulting object has a certain shape, size and performance. There will be some changes in the size during the pouring process (generally the size change can be controlled in CT6 (Figure 1)) and the product size is different each time. Because the demand for castings is large and there are dimensional changes, in order to achieve controllable product size, castings need to be inspected.
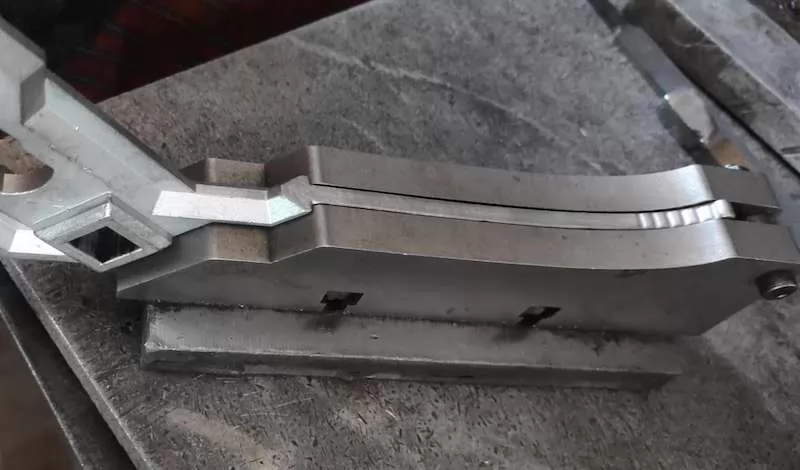
If the measurement is finished by coordinate measuring machine, it takes a long time to measure the product size, because the disassembly and assembly steps of the product are cumbersome, and the product can only be measured in a single piece. This may cause the product production cycle to be too long, which may result in the inability to respond quickly and effectively to the demand of customer. Generally, the dimensional accuracy of casting rough parts is not high. We can control the product size within the range of customer needs only through the inspection tool, so that we can serve customers more efficiently and in time.
When producing some products with high dimensional accuracy requirements, processing volume is generally reserved. Then, the shape, size, position, nature, etc. of the casting blank can be directly changed through later mechanical processing, so that it can eventually satisfy the requirements of customers.
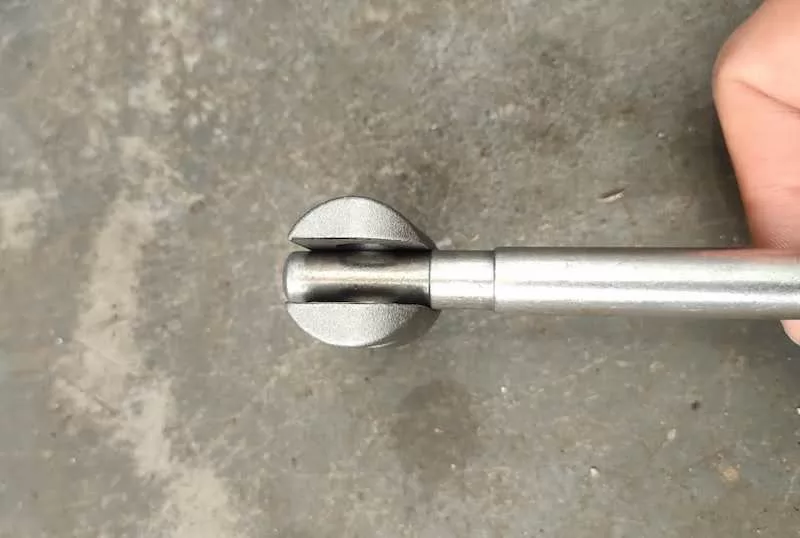
When the accuracy requirements are average, which means the casting size can be controlled within the customer's installation size range only by manual measurement, manual measurement can be preferred for quality control. If the product installation size requires a high tolerance range and the manual measurement cannot effectively control the product size, prodects must be detected by electronic high-precision equipment such as coordinate measuring machine, which is more high-precision and high-accuracy.
Casting blanks: Because the product size requirements are not high, and the batch production quantity is large, in order to ensure that the products can run and circulate more efficiently, inspection tools are generally used to control the product size within the range of customer requirements or processing requirements control.
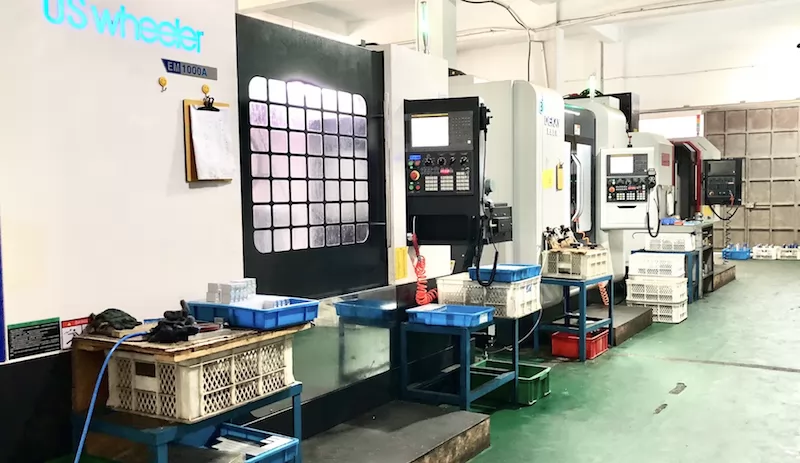
Machining products: During the machining process, the measuring tools can be reasonably selected for measurement and control while ensuring that the size of the processed product is controlled within the range of the customer's installation size. When general measuring tools cannot control the dimensional accuracy, high-precision instruments such as coordinate measuring machine with higher accuracy must be used for measurement to ensure the reliability of machined products.


